Heat Map Configuration
This guide will demonstrate the steps required to configure a Heat Map. A Heat Map is a tool that can be used to gain insights, in numeric terms, into stored information. The basic functionality of a Heat Map is to obtain a score for a category based on the configuration made. It is important to note that creation of categories within a configuration requires domain knowledge. For example, creating a category called ‘Threat’ requires knowledge of all fields that affect the threat level.
Log on to Data Governance Tool with your user ID and password
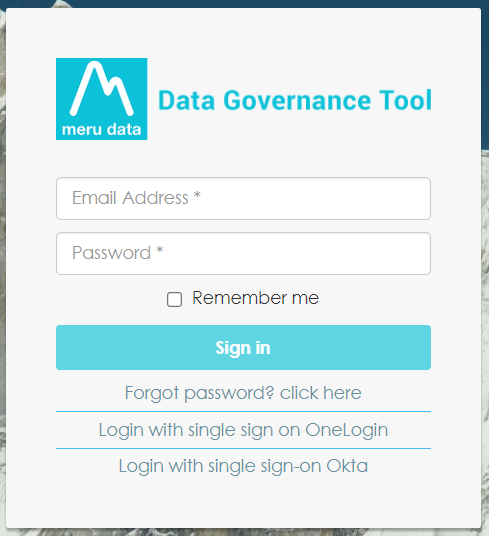
Once logged in, the Main Screen of Data Governance Tool will be displayed
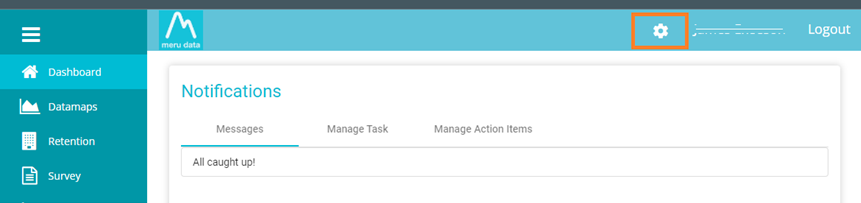
To configure a new Heat Map, click on the
 icon on the top right of the screen
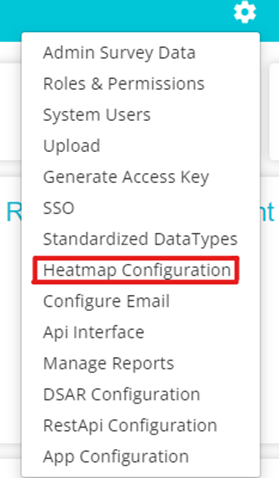
Select Heat Map Configuration from the drop-down menu that appears
There are 2 generators to configure a Heat Map, Decision Tree Configuration and Weighted Average Configuration.
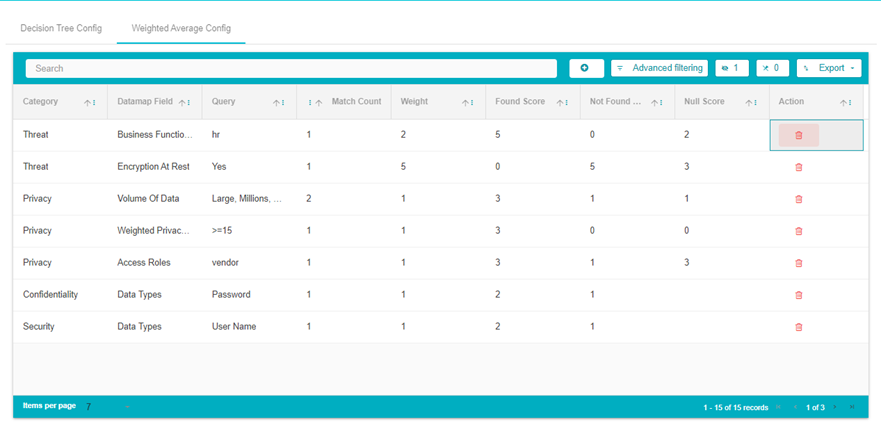
To configure a Heat Map using the Weighted Average generator, click on the option on the top left of the screen.

Here, all existing Weighted Average Heat Map Configurations will be displayed
To configure a new Map, click on the
 icon present next to the Search Option
 On clicking the icon, a new blank configuration rule will appear

For example, if you are configuring a new Map called ‘Threat’, type the same under the Category option.
Next select the Data Map Field that you want to obtain insights from. From the above example, we selected the Field ‘Encryption at Rest’
Under the Query option, you can specify the condition of the Map. There are 3 types of Queries that can be performed.
One is checking whether or not a value exists in a Field. Taking the above example, here we selected ‘Yes’ This is to check whether the Encryption at Rest exists or not.
The second is checking whether multiple different Keywords exist within a Field. Here the Match Count is the minimum score that must be present for the condition Found Score to hold true.
The last type of Query is used to check integer values within the field. For example, >=15 and <=30 will check for the value specified and calculate the score accordingly
Next you can assign numbers to the conditions in order to obtain a score for the results found
The formula to calculate Weighted Average score is as follows, the value for Weight multiplied by the value for one of the following, depending on which condition is true, Found Score, Not Found Score, Null Score
W * FS or NFS or NS
Type in the values based on your requirements. We have assigned the value 5 to Weight, 0 to Found Score, 5 to Not Found Score and 3 to Null Score

For a System, if Encryption at Rest has been found, then the Threat Score is 0 (WFS, 50), for another system if Encryption at Rest was not found, then the Threat Score is 25 (WFS, 55) Finally for yet another System if there is no value specified for Rest at Encryption, then the Threat Score is 15 (WNS, 53)
Once the formula has been specified click on the
 icon on the bottom right of the screen
Once the configuration has been saved, click on
 present on the bottom of the screen
The calculation of scores will take a few minutes, during which you will receive the update

Once the scores have been calculated, the following update will appear on the screen

To Duplicate any Rule, click on the Rule and click on the
 icon on the bottom of the screen
Once a score has been calculated, if you wish to revert back to an old score, click on the
 at the bottom of the screen. It is important to note that you can only Revert a score once. If you attempt to revert a score more than once, you will the notification
To view the Heat Map, click on the
 option on the top left of the screen
Select DataMaps from the table that appears
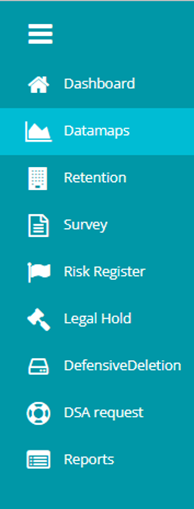
Scroll down to view the HeatMap section of the page
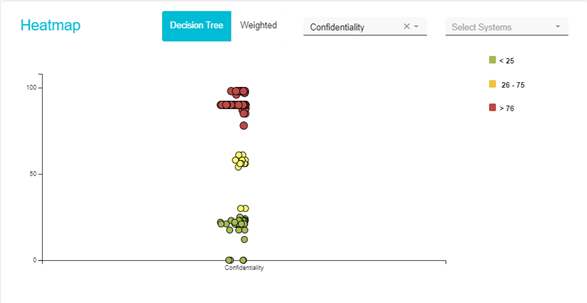
The Total scores are divided based on the results. The lower scores are more secure, in green. The scores that fall in the middle appear in yellow, the highest scores appear in red.
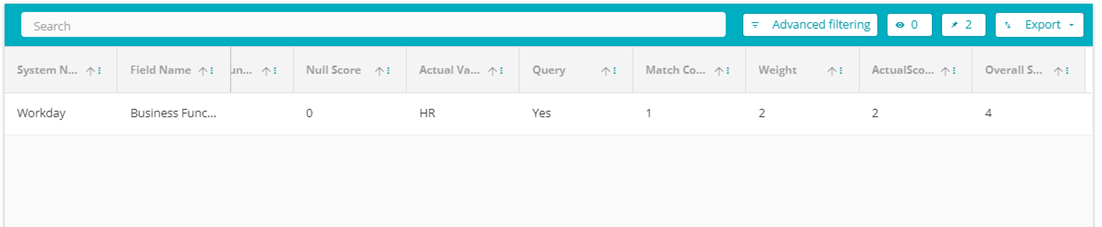
To see how the scores have been calculated for the categories, click on

You can further filter this by selecting the Category and selecting the Systems
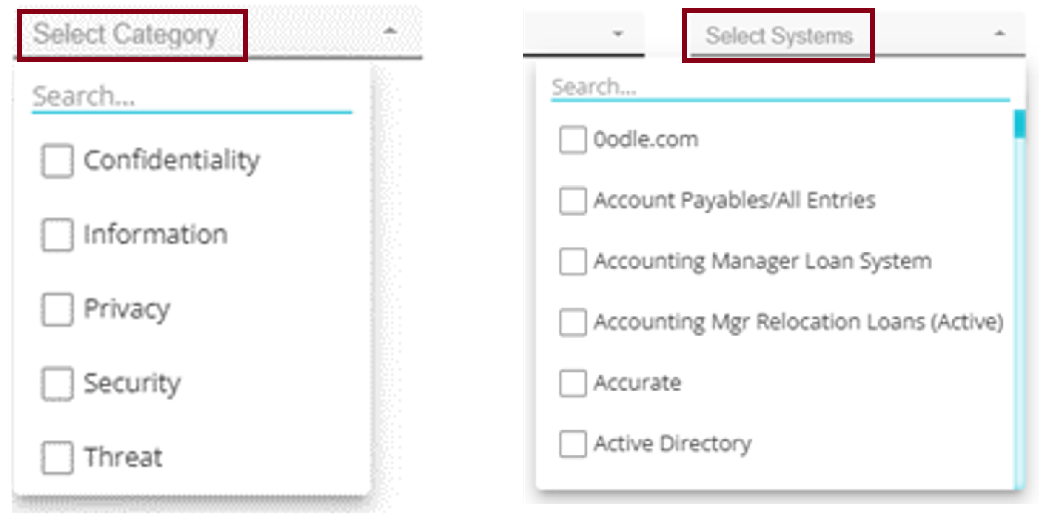
This will display the score for the selected category and system only
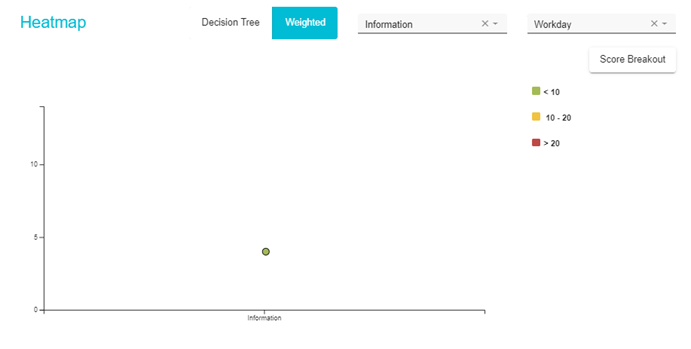
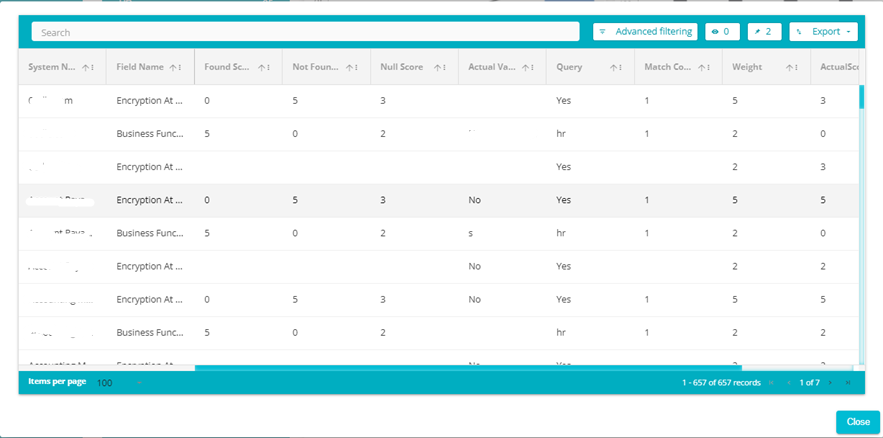
You can also view the breakdown of the specified System and Category, by clicking on the Score Breakout button