Data Map Flows
Overview
Data Map flows can be considered an overview that displays how different Data Map systems interact with each other. It provides details such as the Data Type, frequency, etc that any two systems share with each other and other systems. This guide will take you through the steps required to upload a new Data Map flow.
Steps
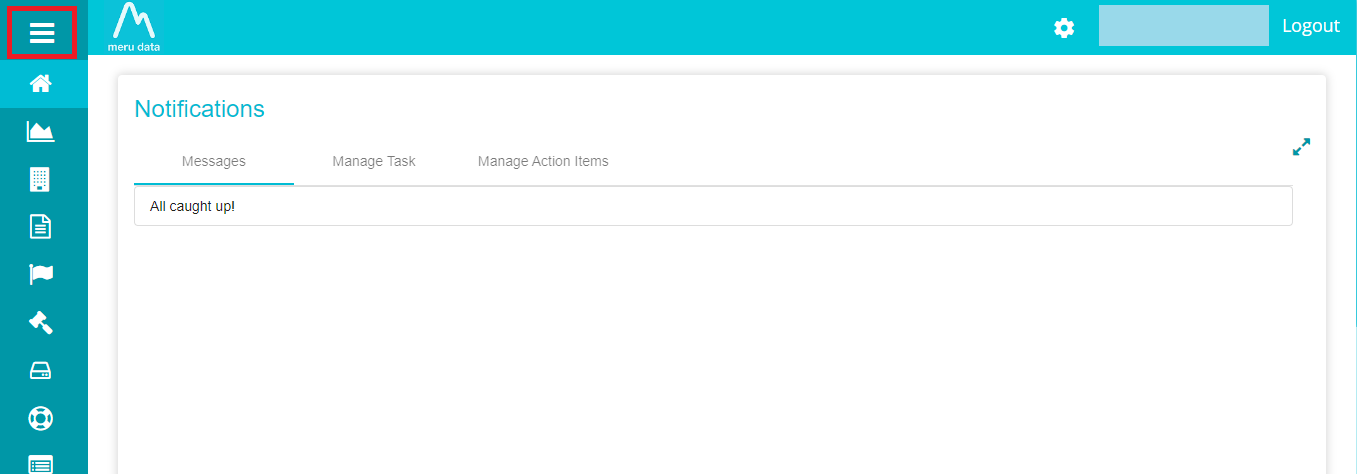
From the Data Governance Tool Main Screen, click the hamburger menu present on the top left corner of the screen.
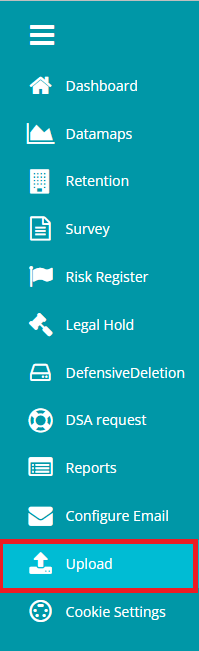
From the hamburger Menu, click Upload
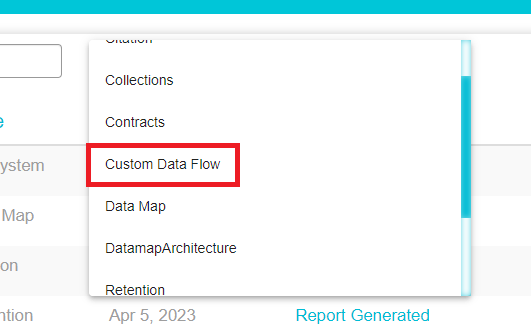
Once on the Upload page, click on the Select Document Type drop-down
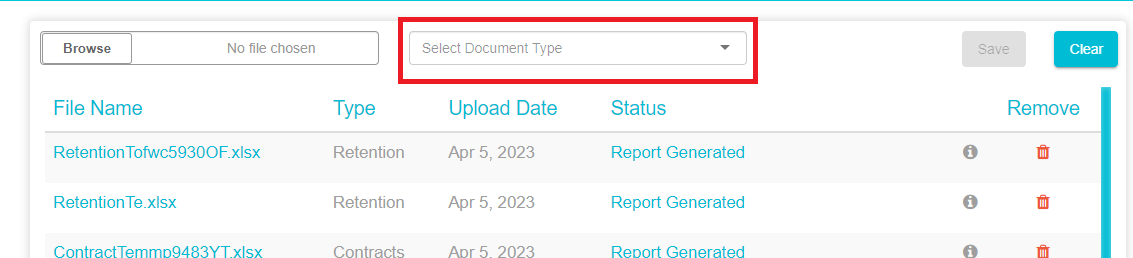
From the drop-down menu, select Custom Data Flow
Once Custom Data Flow has been selected, a Configure Template button will appear on the right of the drop-down.
Click Configure Template (configure template button ss here)
From the Configure Template page, drag and drop the columns according to the order of your choice. Columns that you wish to exclude from your template can be dragged and dropped to the Exclude Columns area. (configure data map flow template page ss here)
Click
 to save the template to your device
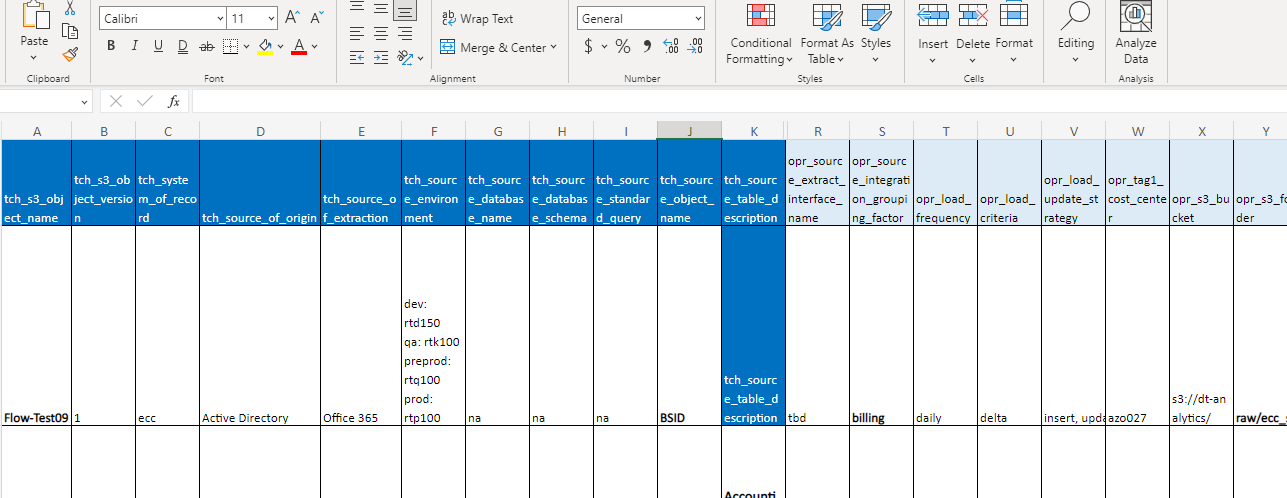
Open the template on an excel sheet on your device and enter the required details under each field. Multiple values can be entered by separating different values with commas.
 Note: If you wish to update the Data Map flow to an existing
Data Map flow, enter the name of the existing Data Map flow in the
Object Name field on the excel sheet.
Note: If you wish to update the Data Map flow to an existing
Data Map flow, enter the name of the existing Data Map flow in the
Object Name field on the excel sheet.Save the excel sheet to your device.
On the Uploads page on Data Governance Tool, click browse. (browse button next to selected custom data flow template ss here)
Select the excel sheet from your device and click Open. The excel sheet will appear on the Browse tab.
Click Save (Save button next to selected custom data flow template ss here)
The file will get uploaded to the Data Governance Tool. The status of the file at this time will be Uploaded. A web job runs every 5 minutes which will change the status of the uploaded file (Data Map Flow uploaded status ss here)
After the web jobs runs, the status of the file will change to Report Generated. (Data Map Flow Report Generated status ss here)
Click on Report Generated to view the file and verify that the details are as required. Once the verification is done, click the Approve button present on the bottom left of the screen. (Data Map Flow document approval page ss here, highlight approve button)
Once you click Approve, a message will appear at the bottom of the screen stating that the report is being approved. s

Once the web job runs, the status of the file will change to Custom Data Flow Generated. (Data Map Flow Generated status ss here)
To view the Data Map Flow
Click on DataMaps from the hamburger menu

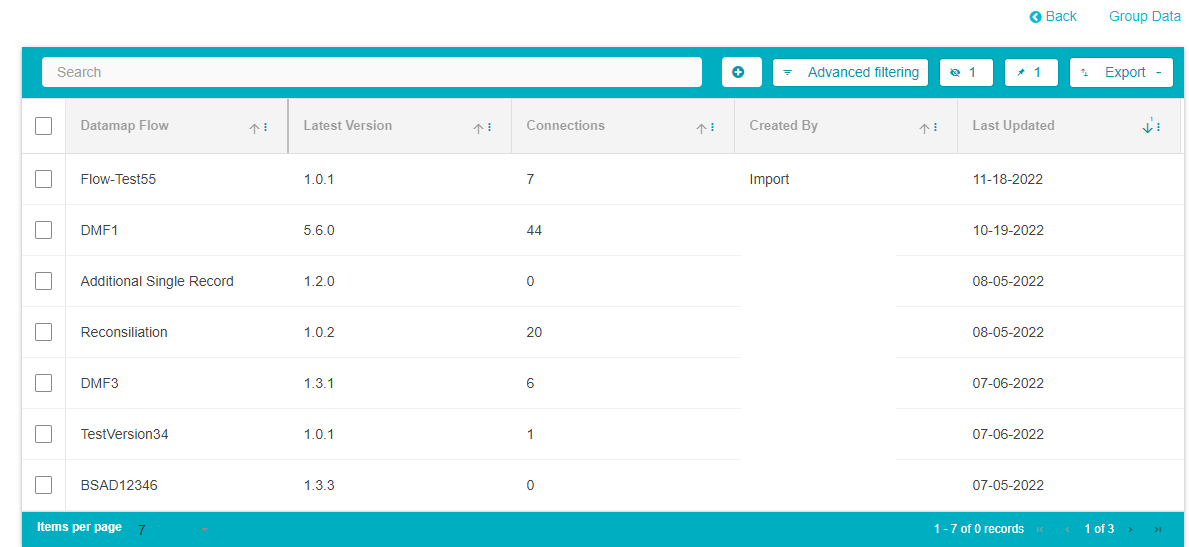
From the DataMaps page, click on Data Map Flows
Here the list of all Data Map Flows is displayed. You can look for the Data Map flow you uploaded by typing in the Data Map flow name on the Search Tab