Upload Contracts
This article will demonstrate the steps to import contracts from excel onto Data Governance Tool. It will also illustrate how the contracts can be accessed once logged into the tool.
Note: Information from the company’s Contract Database can be linked to the information in the Data Map by importing it via Excel or CSV. Before you begin the importing process on Data Governance Tool, make sure the required Contract information is uploaded onto Excel (Excel is used as an example for this article, you can also use CSV), so that it can be easily imported.
How to Configure Contract Template
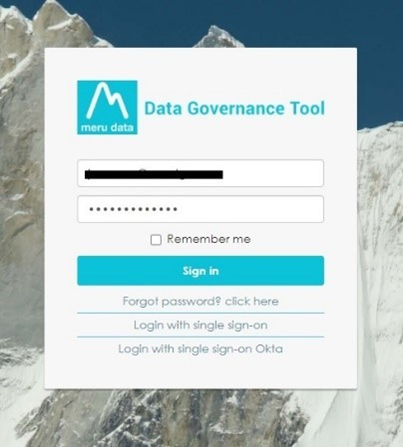
Login to Data Governance Tool
Enter your registered email address
Enter your password
Click Sign In
On the Data Governance Tool page
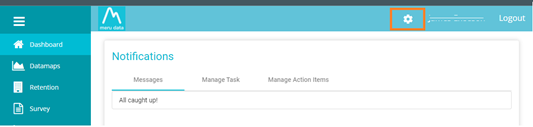
Once logged in, you will be viewing the Data Governance Dashboard Page
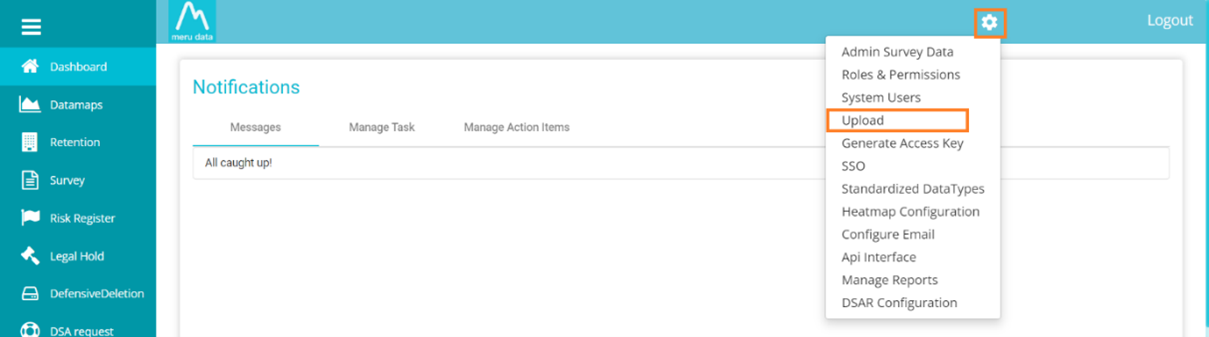
Click on the Settings icon and select the "Upload" option
The Upload page will display existing Uploads, the option to upload new documents and other options
Click on the " Select Document Type " Drop Down and select Contracts, Once you select the Document type, multiple options will appear
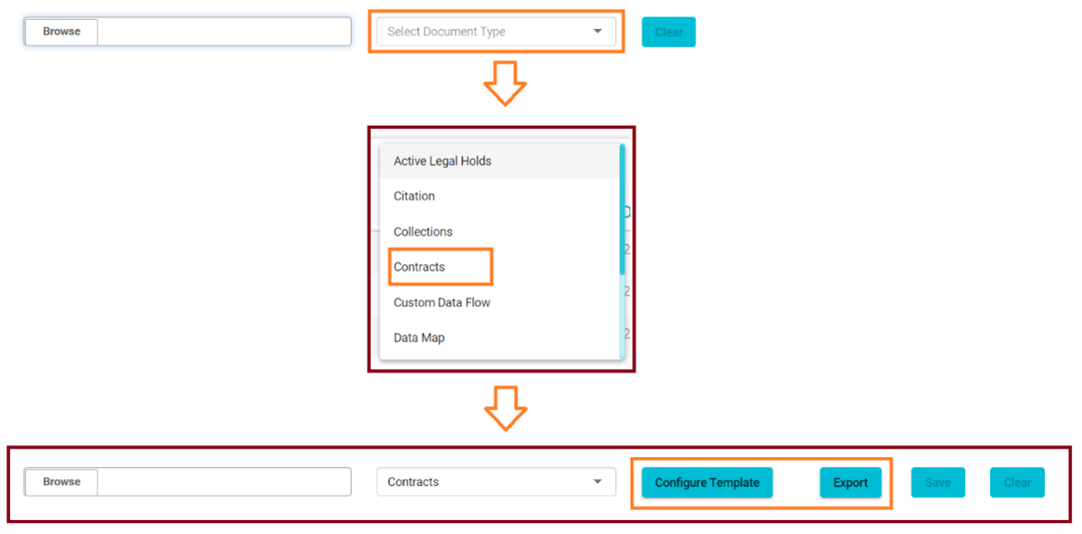
Click on the Configure Template option to configure the contract file
Note: This option will not allow you to create a new format with different columns as per your requirements. The system already has a preformatted structure, and you will be only allowed to realign the existing Columns' position.
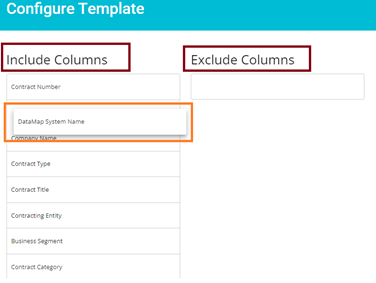
A page will be opened with a preformatted template structure, and you can realign it by the drag and drop method
There are 2 fields, Include Columns and Exclude Columns. All the available fields will be under Include, and if you would like to remove any fields, drag and drop the field under the Exclude Columns
Once the required fields are arranged, click export to download the preformatted excel
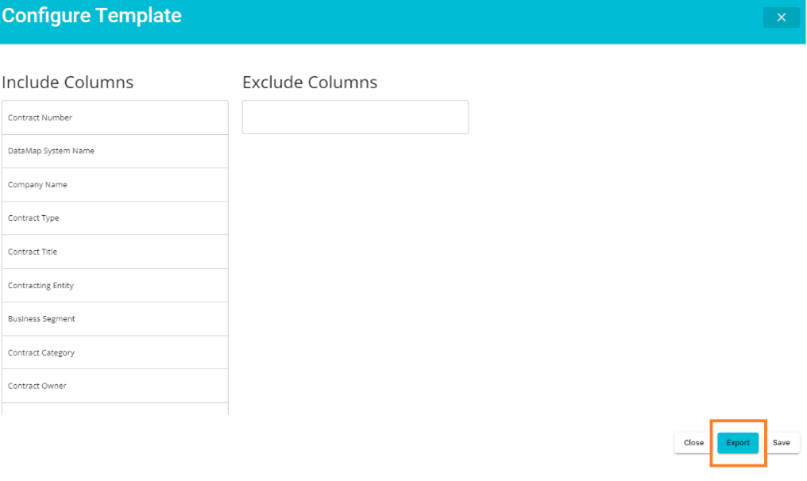
The file will be downloaded to your local drive

How to Import Contracts
Login to Data Governance Tool
On the Data Governance Tool page
Once logged in, you will be viewing the Data Governance Dashboard Page
Click on the Settings icon on the top right corner or your screen
From the drop-down menu, select "Upload"
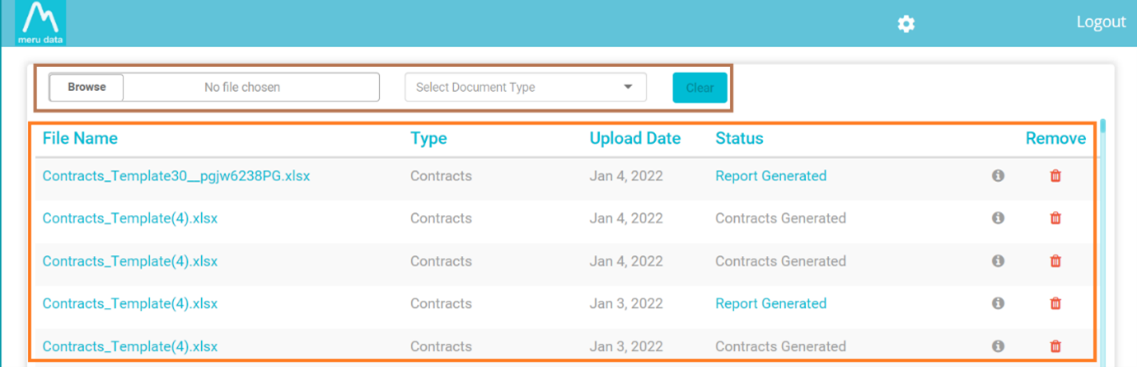
The Upload page will display
The previously uploaded files, their file type, the date of upload, their status, their audit trail, and the option to delete the file. the new upload option, existing Uploads, and other options
The option to browse new uploads and select document type at the top of the screen

Uploading the Contract
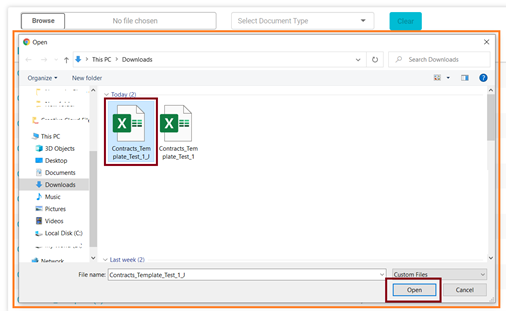
Click on browse

Select the required Excel File with the Contract information from your system.
Note: Please make sure that the file name has no spaces in it
Click ‘Open’
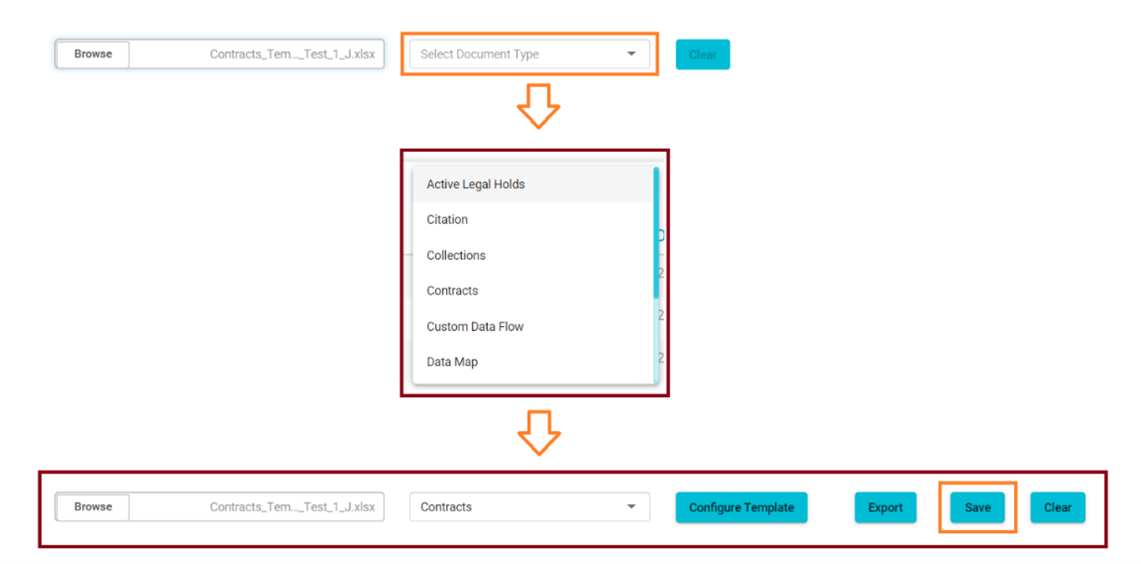
Click on ‘Select Document Type’
From the drop-down Menu, choose the document type you are uploading, in this case it will be ‘Contracts’
If you wish to configure your Contract Template, click on ‘Configure Template’
This will open a new page where you can customise the order of the columns and exclude certain columns of your choice
Once the required customisations have been made, click ‘Save’
Once the file has been uploaded successfully, it will be displayed in the Uploaded files list. The status of the file will read ‘Uploaded’
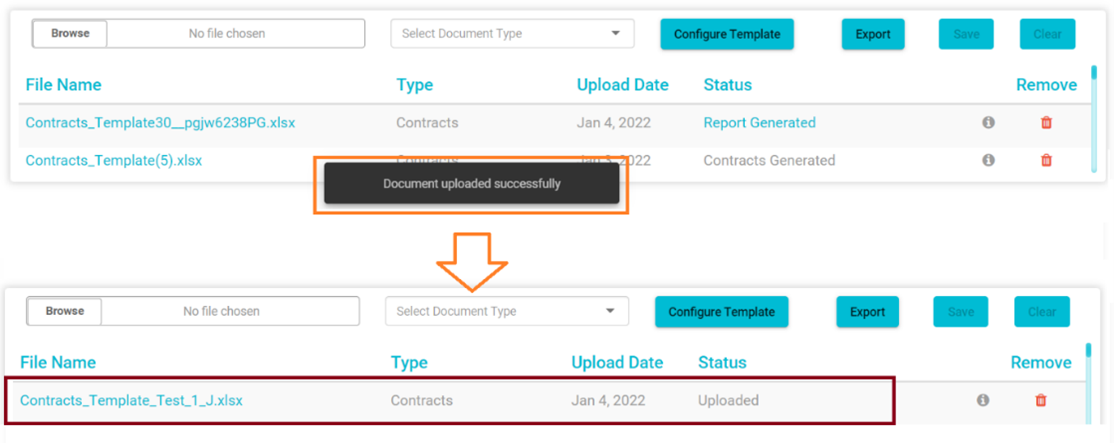
If you want to delete the file you uploaded, you can click on the ‘Remove’ icon
Note: The back-end auto script runs automatically every 15 minutes. Refresh the page to view the status update.

Once the back-end script has run, the Status of the uploaded file will change to " Report Generated "

Approving the Contract
- Click on " Report Generated "
- A Document Approval page will be opened. Here you can review the information on the contract
- Once this is done, click ‘Approve’ (Double check the details before approving the same)
Note: Only admins have the option to Approve Contracts, The system will automatically delete any duplicate records added to the file

- Once the back-end script has run (which happens automatically every 15 minutes) the Status " Report Generated " will change to " To Be Approved "
Refresh the page to view the status update.

- Once the back-end script has run, the Status " To Be Approved " will change to " Contract Generated "
Note: Refresh the page after 15min to view the status update

Accessing the Contract
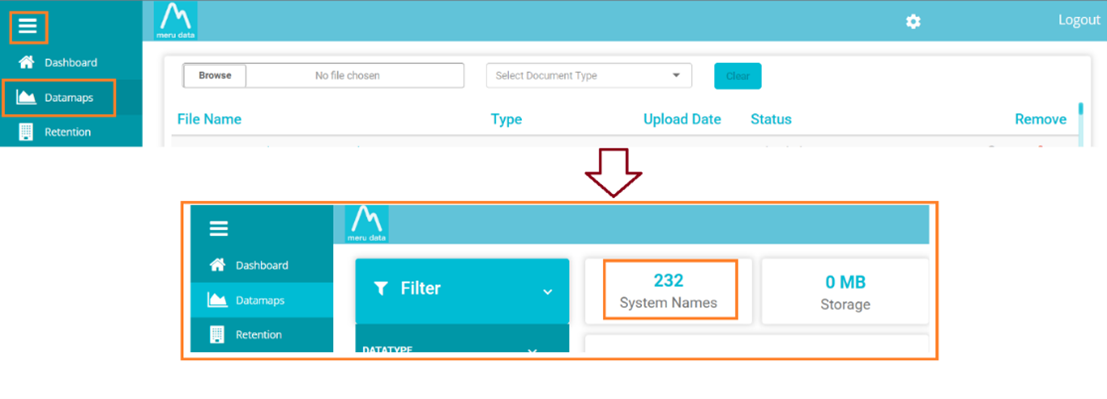
To view the generated Contract, go to " Data Maps " and click on " System Names "
Click on the system under which you have added the new Contract.
If you are unable to find the system on the system Names home screen, type in the system name on the search bar.
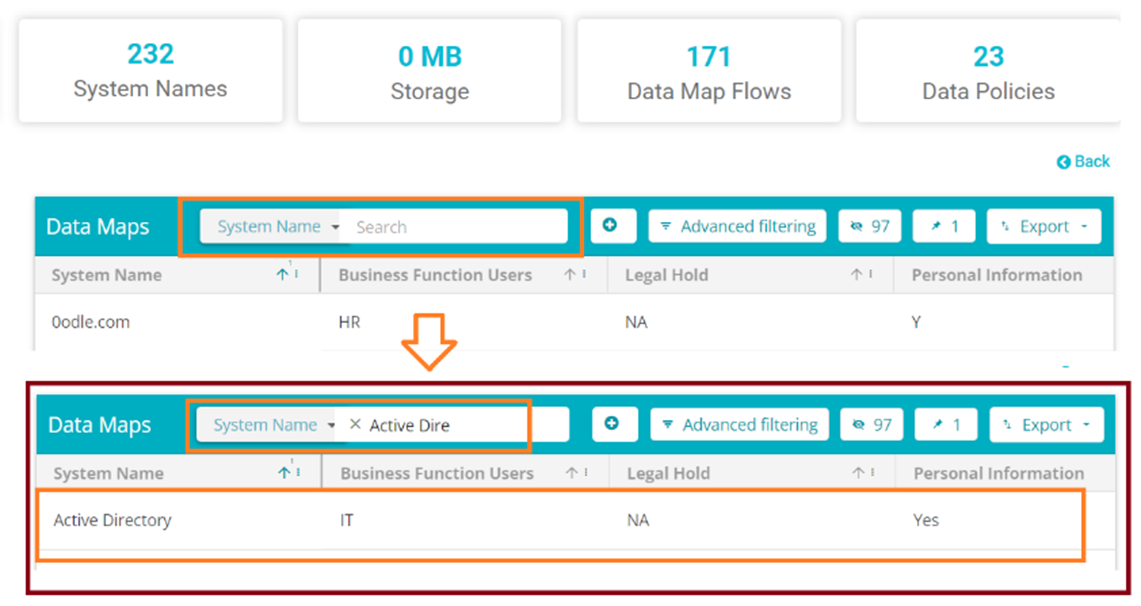
Click on the system name
A page containing the details on the selected system will open.
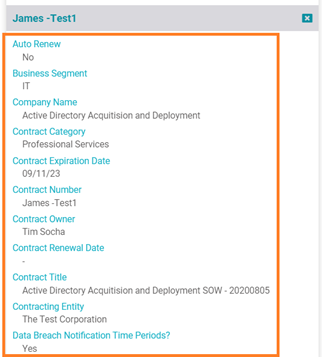
Scroll down to the " Contract Details "
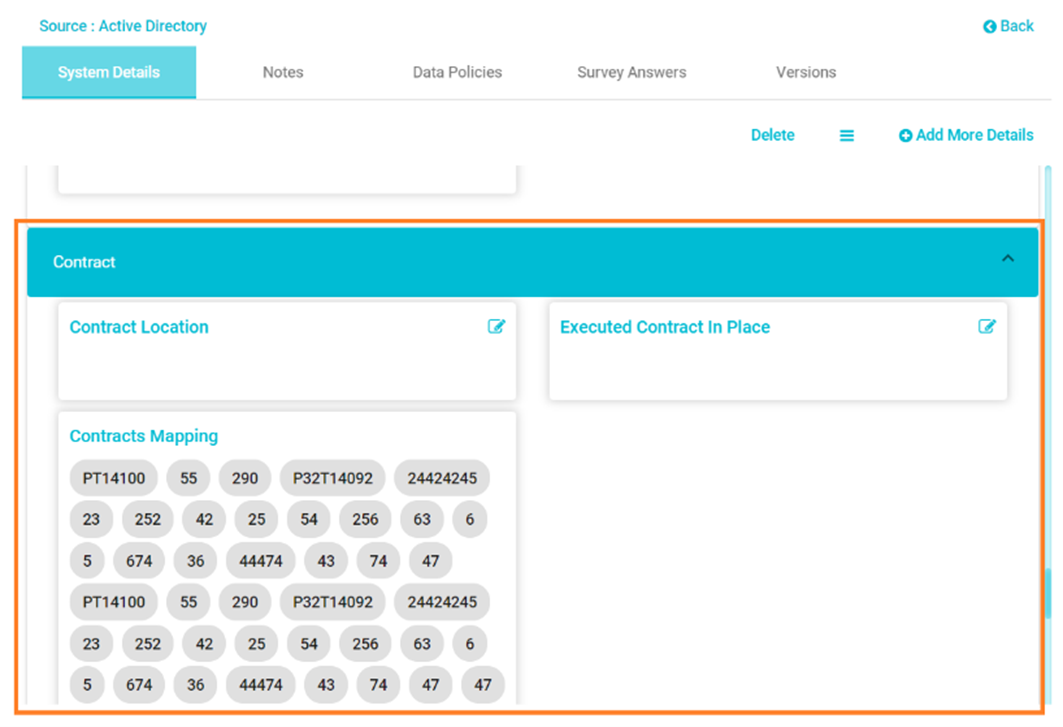
Select the contract number you added recently from the "Contract Mapping" List, under “Contract” (The latest added contract number will be shown at the bottom of the Contract Mapping List)

On clicking on the Contract Number, all the details about the selected contract will be displayed.