Enabling MFA on Data Governance Tool
This article will help you understand how to enable Multifactor Authentication (MFA) in Data Governance Tool
Log in to the Data Governance Tool
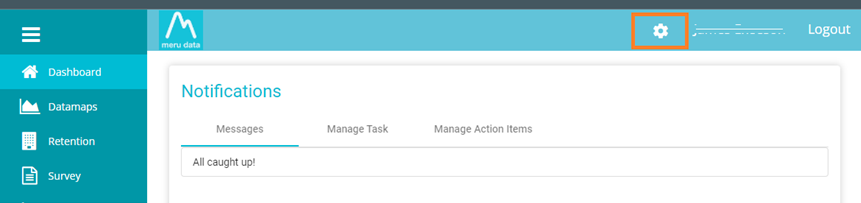
Once logged in, you will be directed to the home page of the Data Governance Tool
Click on the ‘Settings’ icon on the top right corner of the home page
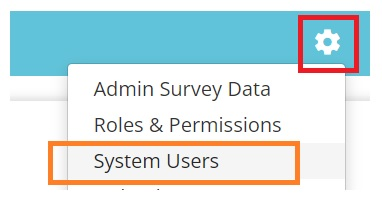
Select ‘System Users’ from the Settings drop-down menu
The System Users page will display a list of all existing users, along with their details i.e., Name, Email Address, Mobile Number, User Group, Status, the option to edit, and the option to delete
Note: To learn more about how to create a new user, see Creating A New User

To enable MFA for an existing user:
Select the User from the list
Click on the ‘Edit’ button
 present on the right side of the Users row
An ‘Edit User’ pop-up window will appear with the option to edit the Users information, such as their name, number, etc.
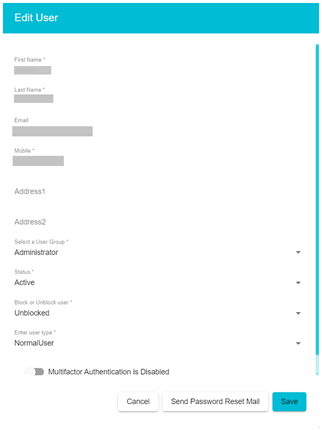
Scroll down to the bottom of the window to see ‘Multi-factor Authentication is Disabled’

Enable the option, which will change the sentence to ‘Mutli-factor Authentication is enabled’
Click ‘Save’
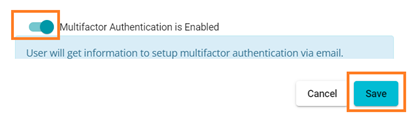
The User will get an email with all the information to set up Multi-factor Authentication
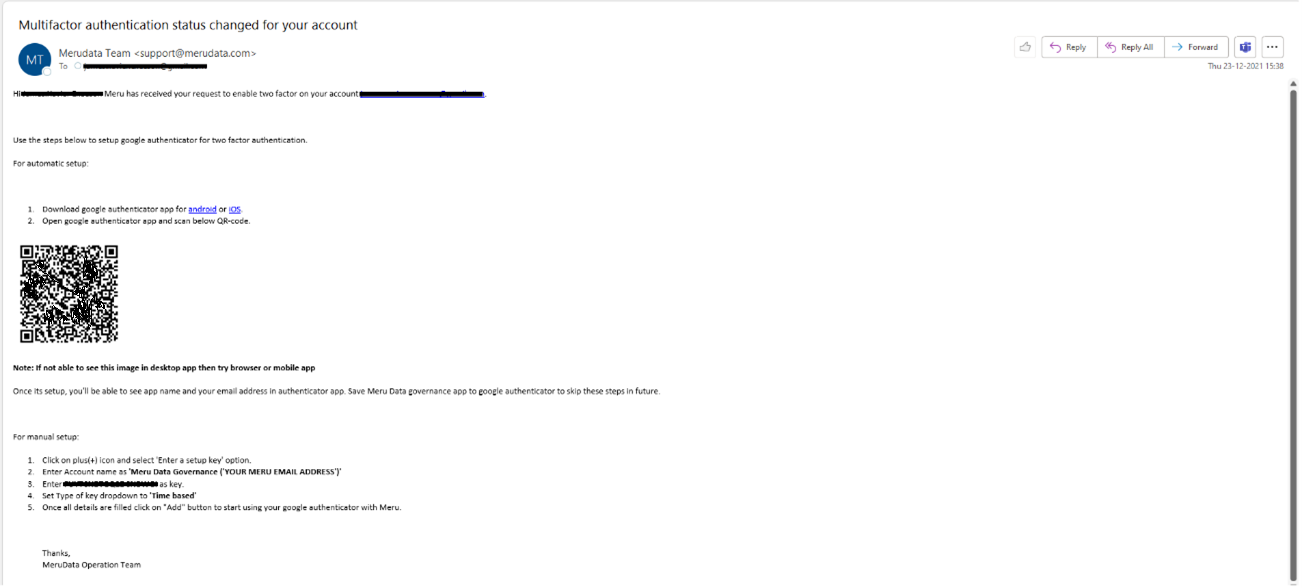
Note: To learn more about How to Activate your MFA ,see MFA